Nobody likes spending money on “boring” home stuff when there are a hundred more fun ways to use your paycheck.
But the truth is that tiny home problems rarely stay tiny, and they almost always get more expensive when you ignore them.
What starts as a slow drip, a small crack, or a little draft can quietly turn into water damage, mold, broken appliances, or major replacement bills.
The good news is that a lot of these fixes are genuinely affordable, especially if you catch them early and handle the basics yourself.
Think of these as the repairs that protect your home and your budget at the same time.
Here are eight small repairs that can cost around $20 now, but easily snowball into $2,000 headaches later if you keep putting them off.
1. Replace a worn toilet flapper (and fix silent leaks)
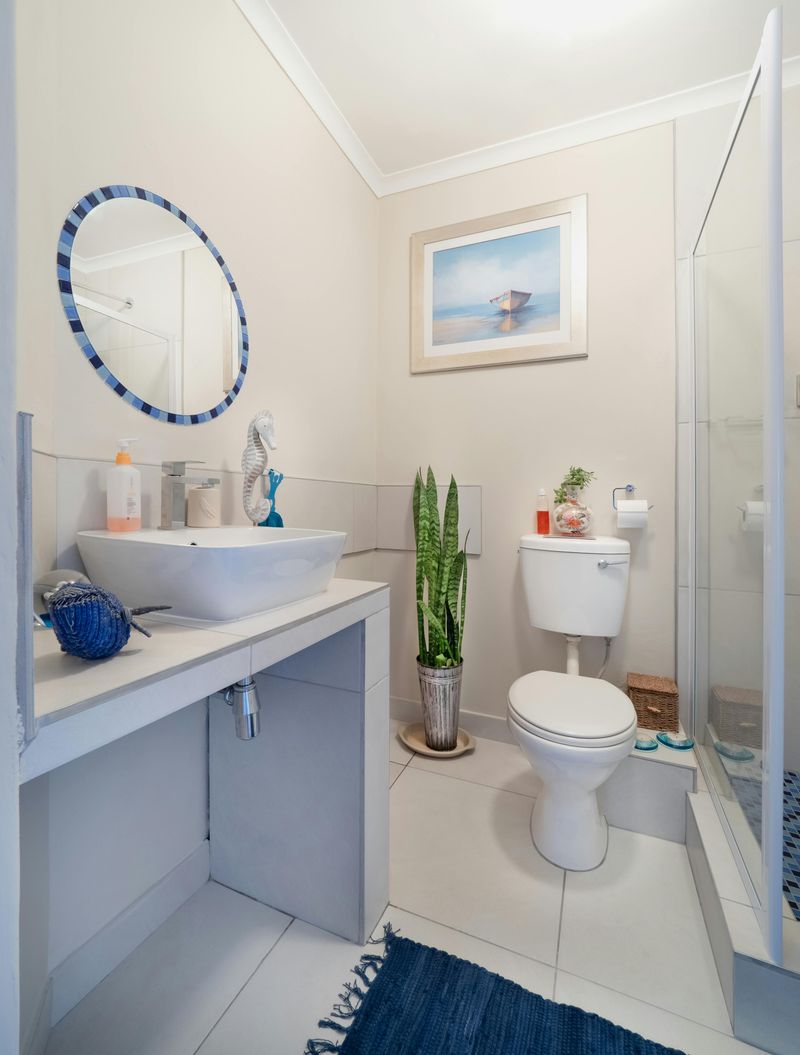
A toilet that seems “fine” can still leak water into the bowl all day and all night without making a sound.
That hidden trickle usually comes from a worn-out flapper that no longer seals tightly after flushing.
A quick way to check is to add a few drops of food coloring to the tank and see if it shows up in the bowl within 10 minutes.
If it does, swapping the flapper is typically a simple, tool-free fix that costs very little and takes minutes.
Ignoring it can mean a noticeably higher water bill that keeps climbing month after month.
Over time, constant running can strain internal parts, cause mineral buildup, and make the whole toilet work harder than it should.
In worst cases, prolonged leakage can contribute to moisture problems around the base, especially if other seals are already weak.
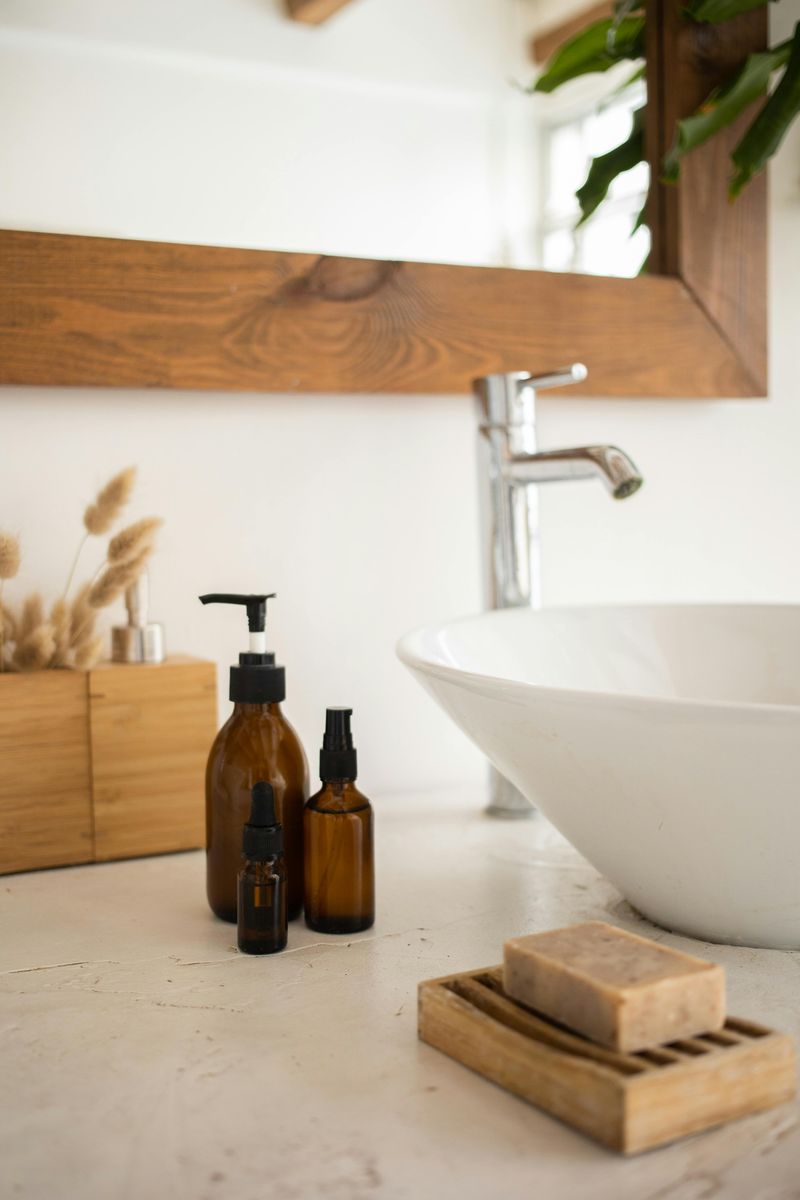
2. Re-caulk the tub/shower and around sinks
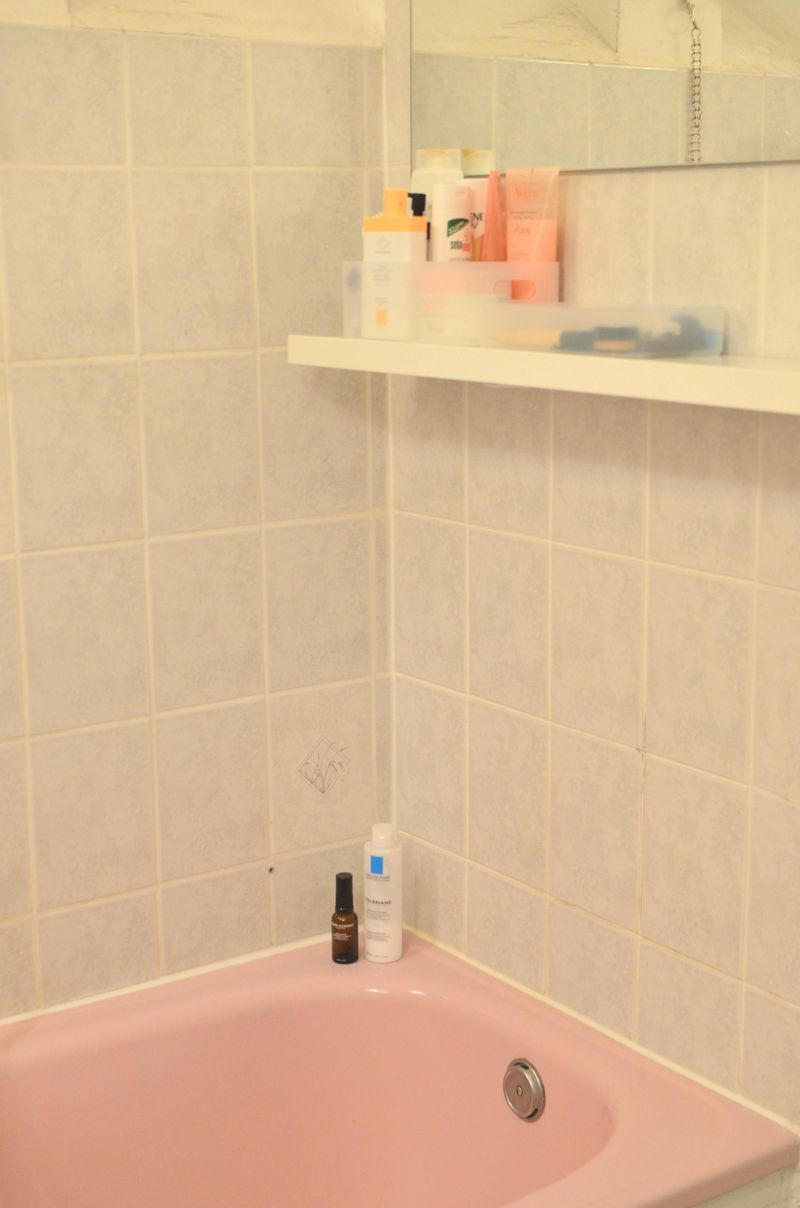
Hairline cracks around a tub or sink don’t look dramatic, but they act like tiny doors for water to slip through.
Once moisture gets behind tile or under a countertop edge, it doesn’t dry quickly, and that’s where trouble starts.
A simple tube of bathroom-safe caulk can reseal those gaps and stop water from creeping into places you can’t see.
The key is removing old, peeling caulk first, cleaning the area well, and letting it fully dry before applying a fresh bead.
When you skip this, you can end up with soft drywall, swollen baseboards, or a warped vanity floor that feels “spongy” underfoot.
Mold can also develop in damp wall cavities long before you notice an odor or a stain.
By the time you see visible damage, the repair usually involves more than just caulk and becomes a true renovation expense.
3. Clean the dryer lint trap and the vent hose/duct
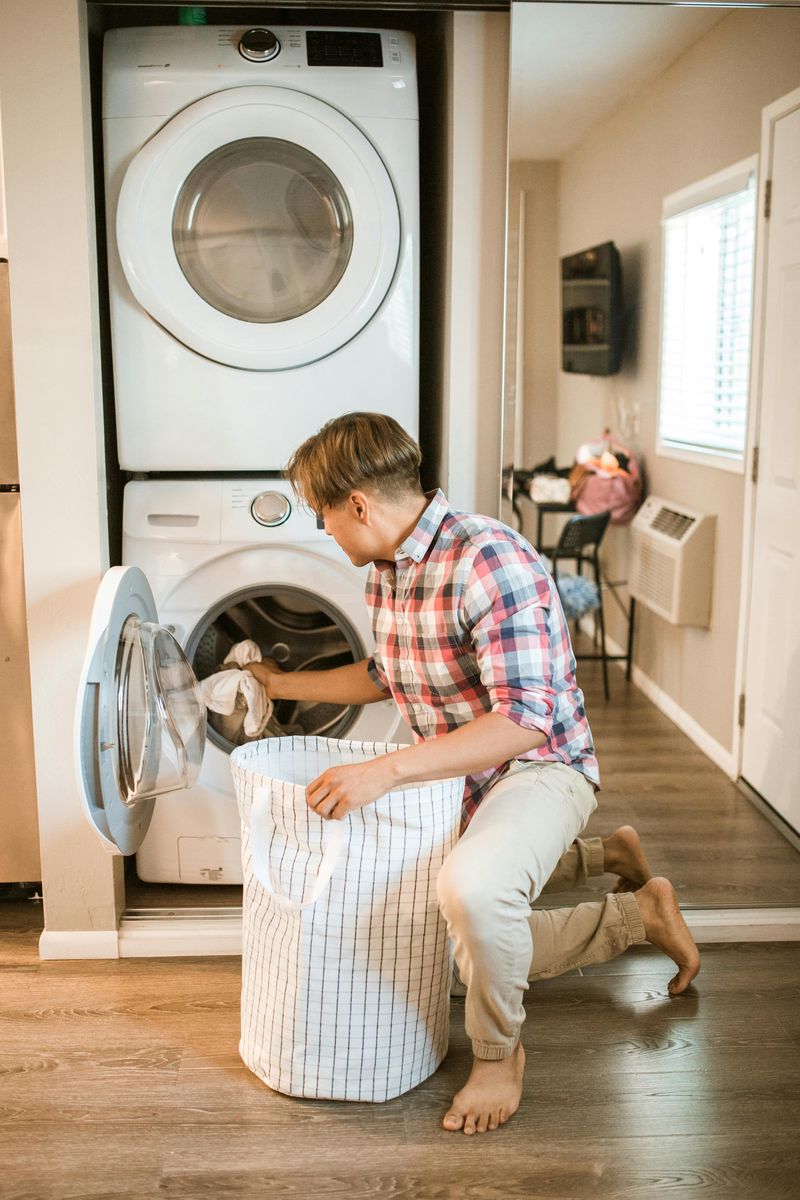
A dryer that suddenly takes longer to dry clothes is often begging for a cleanup you can do in under an hour.
Lint doesn’t just sit in the trap, because it also collects inside the vent hose and the duct that runs to the outside.
That buildup forces the dryer to work harder, wastes energy, and can shorten the life of the appliance.
A vent brush kit or careful vacuuming can remove a surprising amount of debris and instantly improve airflow.
The bigger issue is safety, because lint is extremely flammable and restricted airflow increases heat and risk.
When vents stay clogged, overheating can damage internal components and lead to costly service calls or replacement.
In the worst scenarios, neglected dryer vents contribute to house fires, which is the kind of “later” cost nobody wants to imagine.
4. Swap HVAC/furnace air filters regularly
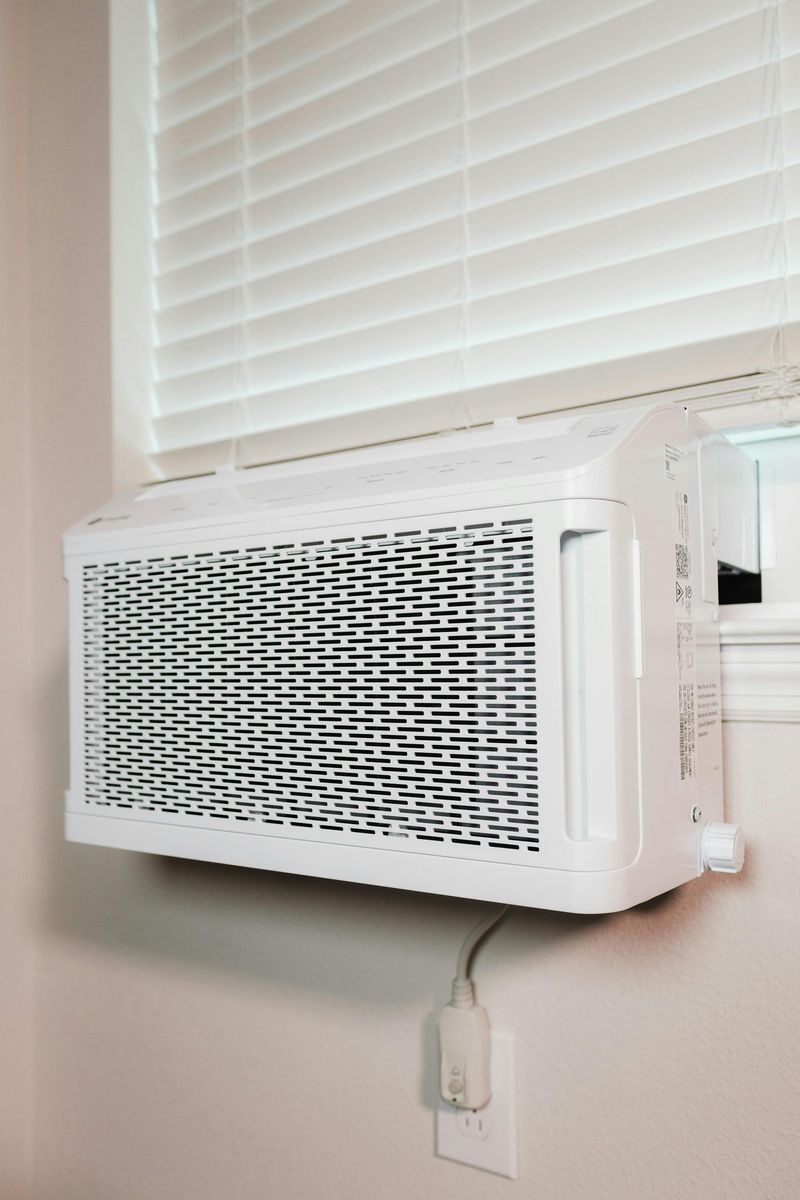
Your heating and cooling system can only run efficiently if it can actually breathe.
A dirty air filter restricts airflow, which makes the system strain longer to reach the temperature you set.
That extra strain can lead to higher utility bills, uneven heating or cooling, and more wear on expensive parts.
Replacing the filter is usually inexpensive, and many systems need it every one to three months depending on pets, dust, and allergies.
When you let filters go too long, dust can build up on components like the blower and evaporator coil.
Those issues often turn into service appointments that cost far more than a stack of filters ever would.
In extreme cases, airflow problems can contribute to overheating, frozen coils, or premature system failure.
A small habit with a small price tag can protect one of the most expensive appliances in your home.
5. Stop small plumbing drips (faucets, supply lines, P-traps)
A slow drip under the sink is easy to ignore until you notice the cabinet smells weird or the wood looks darker than it should.
Tiny leaks often come from loose fittings, worn washers, aging cartridges, or supply lines that are beginning to fail.
A quick tightening, some plumber’s tape, or a low-cost replacement part can usually stop the problem before it spreads.
If you’re not sure where the water is coming from, placing a dry paper towel under connections can help you pinpoint the source.
The longer a drip continues, the more likely you are to end up with warped cabinet floors, peeling laminate, or swollen particleboard that can’t be saved.
Moisture also invites mold, and once mold is established, cleanup becomes complicated and expensive.
If a supply line bursts after months of “minor” leaking, the damage can jump from annoying to catastrophic in minutes.
Catching it early is one of the best budget moves you can make.
6. Patch and seal small roof leaks (or missing shingles)

A small roof issue is rarely just a roof issue, because water travels and damage multiplies as it spreads.
Missing shingles, lifted flashing, or tiny cracks around vents can let rain in even when the leak seems minor.
A quick inspection after storms, plus simple patching or sealing, can prevent water from soaking insulation and staining ceilings.
When moisture gets into the attic, it can rot wood, invite mold, and reduce your home’s ability to hold heat in winter and cool air in summer.
The tricky part is that you might not see the problem right away, because water can run along beams before it shows up inside.
By the time you notice a brown spot on the ceiling, the repair often involves drywall, paint, insulation, and carpentry.
Addressing a small issue quickly can be the difference between a quick fix and a multi-trade repair bill that doesn’t feel small at all.
7. Fix peeling paint or soft wood on exterior trim
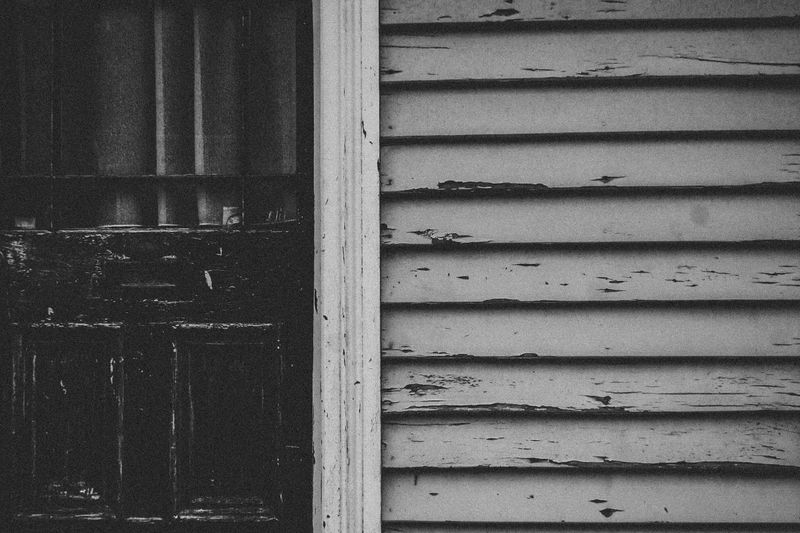
Exterior trim takes a beating from sun, rain, and temperature swings, and paint is the protective layer that keeps wood from absorbing moisture.
When paint starts peeling, the exposed wood can soak up water, swell, and eventually begin to rot.
A weekend of scraping, sanding, priming, and repainting can stop the damage before it becomes structural.
If you catch it early, you may only need wood filler for small spots instead of replacing entire boards.
Ignoring soft wood can also attract insects, because damp, deteriorating material is exactly what pests love.
Once rot spreads, repairs often involve cutting out trim, patching siding edges, and repainting large areas to blend everything together.
That’s when “cosmetic” turns into carpentry, and carpentry is rarely cheap.
Keeping paint intact is one of the simplest ways to protect your home’s exterior without spending big money.
8. Seal gaps around windows/doors (weatherstripping + draft stops)

Drafts aren’t just uncomfortable, because they can quietly raise your heating and cooling costs every single month.
Small gaps around doors and windows let conditioned air escape, while also letting outdoor moisture and pests sneak in.
Weatherstripping, door sweeps, and simple draft stoppers are inexpensive fixes that can make a home feel instantly tighter.
You can find problem spots by feeling for cold air, watching curtains move on windy days, or checking for daylight around door edges.
When gaps stay open, moisture can collect where it shouldn’t, especially around older frames and sills.
Over time, that moisture can contribute to swelling, wood deterioration, and paint failure that becomes a repair project.
Unsealed openings can also invite ants, spiders, and other “surprise roommates” that cost money to get rid of.
A small seal now can save you from bigger repairs later, while also making your home more comfortable today.
Comments
Loading…